// ✅ 기본 UITableViewCell 등록
addItemTableView.register(UITableViewCell.self, forCellReuseIdentifier: "cell")
// MARK: - Extension: 테이블 델리게이트 설정
extension AddPlanViewController: UITableViewDelegate, UITableViewDataSource {
...
// ✅ 각 셀을 별도로 만들지 않음
func tableView(_ tableView: UITableView, cellForRowAt indexPath: IndexPath) -> UITableViewCell {
switch AddItemTableSection.allCases[indexPath.section] {
case .book:
let cell = tableView.dequeueReusableCell(withIdentifier: "cell", for: indexPath)
let titleTextField: UITextField = UITextField()
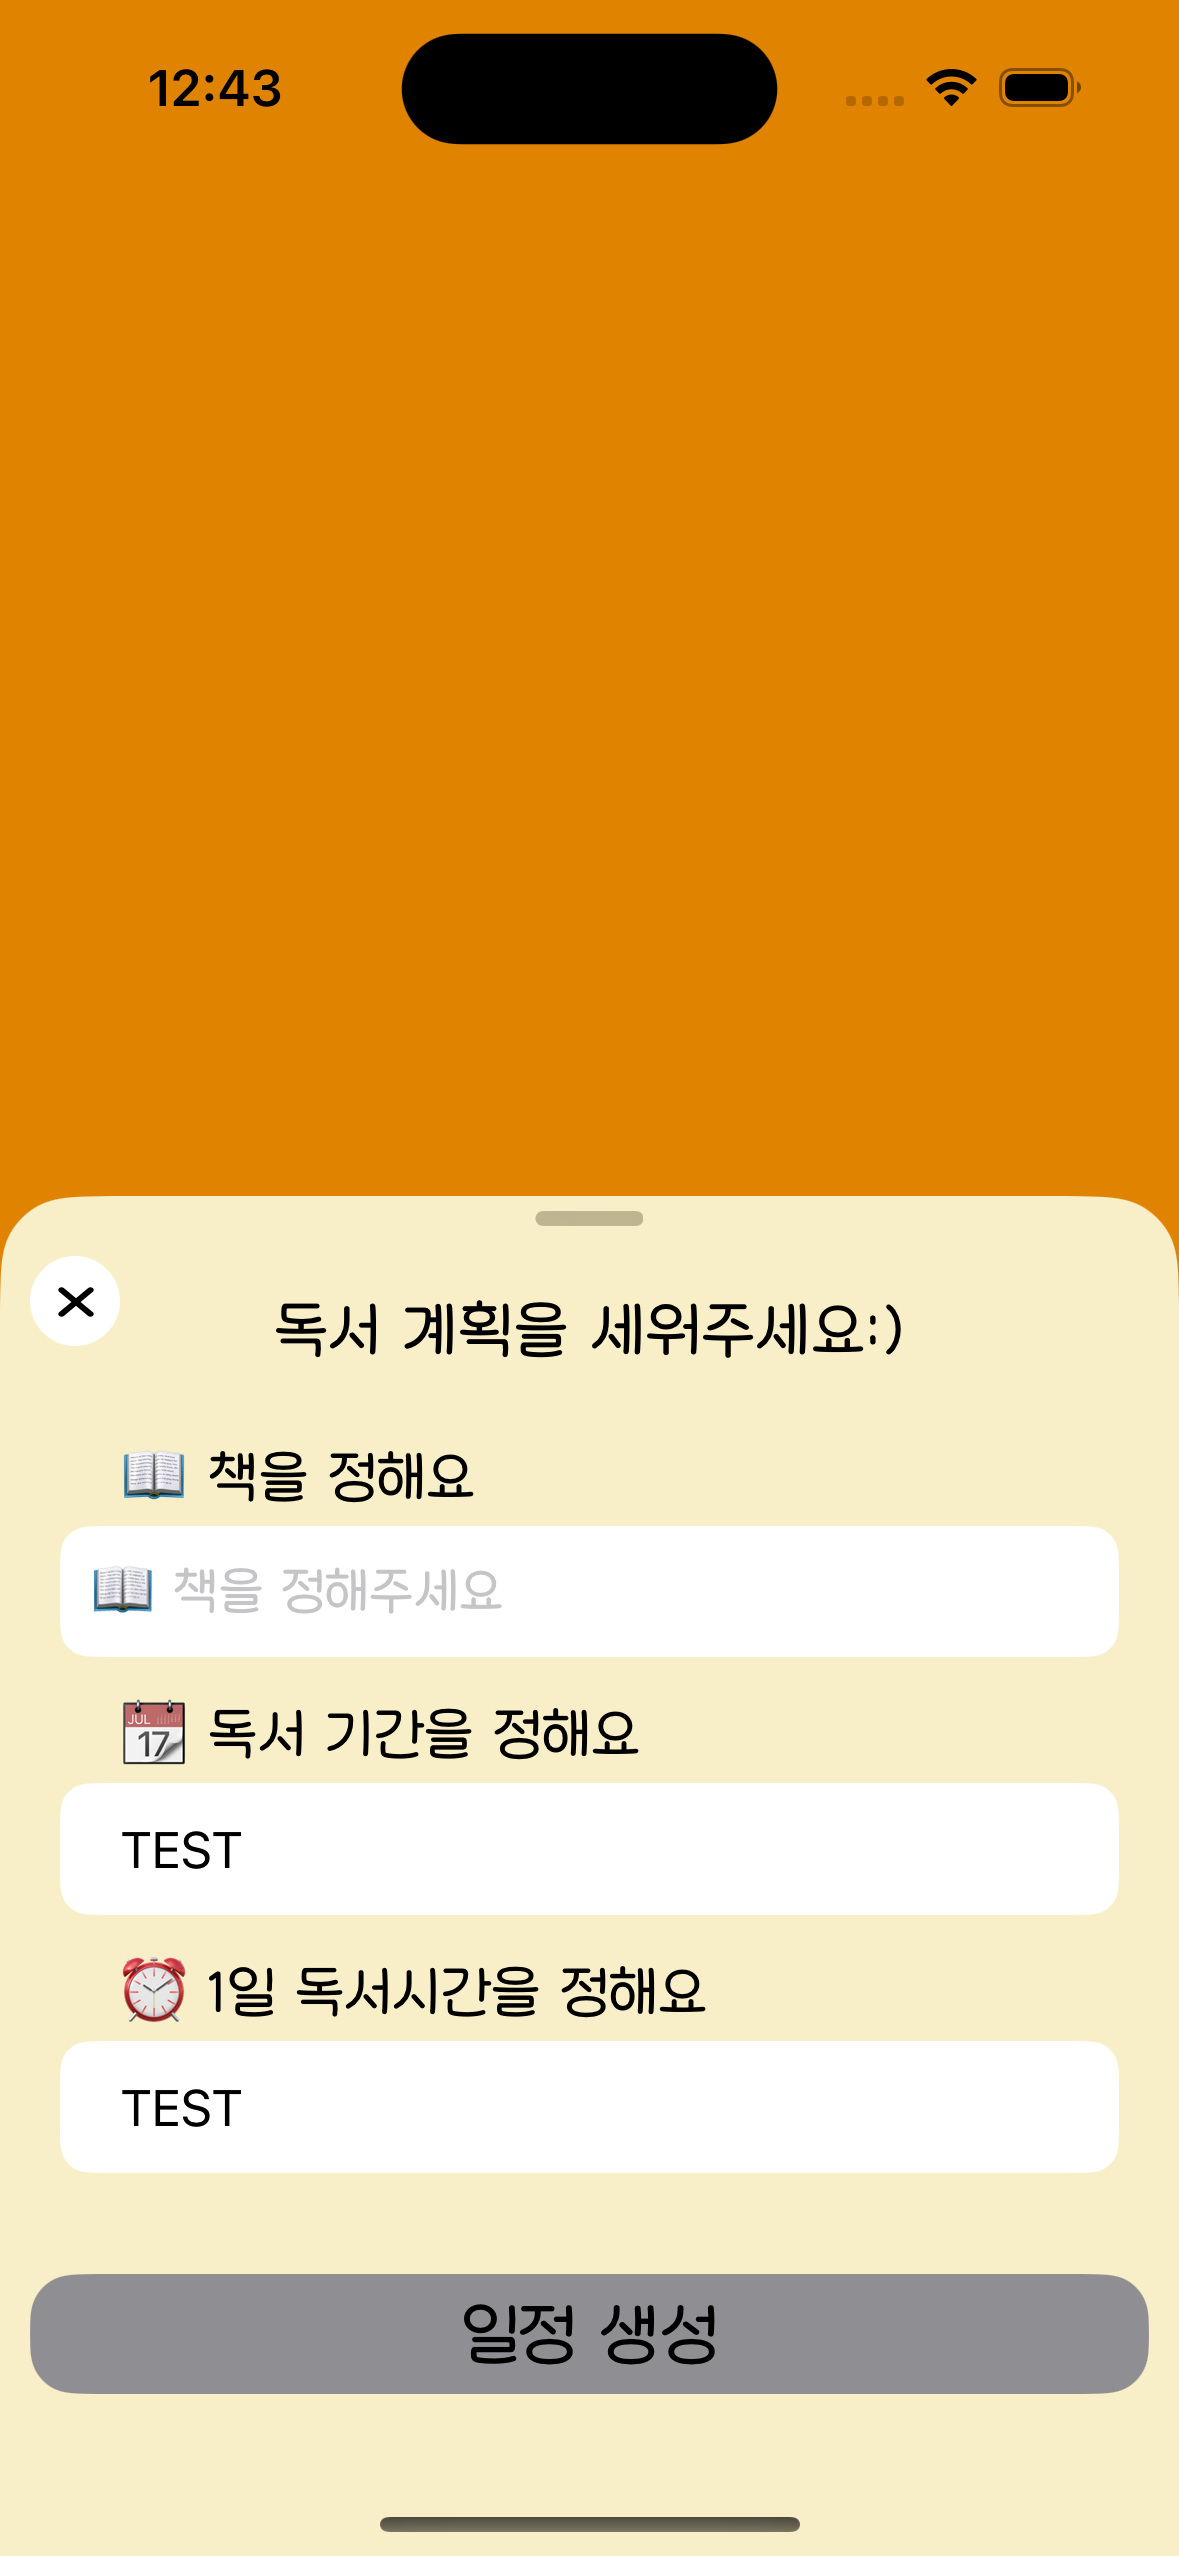
titleTextField.placeholder = "📖 책을 정해주세요"
titleTextField.layer.cornerRadius = 10
titleTextField.layer.masksToBounds = true
titleTextField.font = UIFont(name: "HakgyoansimDunggeunmisoTTF-R", size: 18)
titleTextField.translatesAutoresizingMaskIntoConstraints = false
cell.contentView.addSubview(titleTextField)
NSLayoutConstraint.activate([
titleTextField.leadingAnchor.constraint(equalTo: cell.contentView.leadingAnchor, constant: 10),
titleTextField.trailingAnchor.constraint(equalTo: cell.contentView.trailingAnchor, constant: -10),
titleTextField.heightAnchor.constraint(equalToConstant: 30),
titleTextField.centerYAnchor.constraint(equalTo: cell.contentView.centerYAnchor)
])
return cell
default:
let cell = tableView.dequeueReusableCell(withIdentifier: "cell", for: indexPath)
cell.textLabel?.text = "TEST"
return cell
}
}
...
}
✅ 에러 메시지
constraints ambiguously suggest a height of zero 라고 되어 있는데,
이는 오토레이아웃 제약 조건이 모호해서 셀의 높이를 0으로 해석하려고 하는 문제
이런 경우, 시스템이 기본 높이를 적용하지만 의도한 레이아웃이 반영되지 않아서 UI가 깨질 가능성이 큼.
Warning once only: Detected a case where constraints ambiguously suggest a height
of zero for a table view cell's content view. We're considering the collapse
unintentional and using standard height instead. Cell: <UITableViewCell: 0x103a32940;
frame = (0 17.6667; 358 44); clipsToBounds = YES; autoresize = W; layer =
<CALayer: 0x302d74380>>
🔍 문제의 원인
cell.contentView.addSubview(titleTextField)
NSLayoutConstraint.activate([
    titleTextField.leadingAnchor.constraint(equalTo: cell.contentView.leadingAnchor, constant: 10),
    titleTextField.trailingAnchor.constraint(equalTo: cell.contentView.trailingAnchor, constant: -10),
    titleTextField.heightAnchor.constraint(equalToConstant: 30),
    titleTextField.centerYAnchor.constraint(equalTo: cell.contentView.centerYAnchor)
])
📌 titleTextField를 추가했는데, UITableViewCell의 높이를 따로 설정하지 않음
- UITableViewCell은 기본적으로 44pt 높이를 가짐.
- 하지만 셀 내부에 추가한 titleTextField만 존재하고, 셀 자체의 높이를 조절하는 제약이 없음.
- 이 때문에 오토레이아웃이 "셀의 높이가 정확히 얼마여야 하는지" 모호하게 되어 셀의 높이를 0으로 해석함.
✅ 해결 방법
방법 1️⃣:
func tableView(_ tableView: UITableView, heightForRowAt indexPath: IndexPath) -> CGFloat {
    return 50 // 또는 원하는 높이
}
방법 2️⃣:
NSLayoutConstraint.activate([
    titleTextField.leadingAnchor.constraint(equalTo: cell.contentView.leadingAnchor, constant: 10),
    titleTextField.trailingAnchor.constraint(equalTo: cell.contentView.trailingAnchor, constant: -10),
    titleTextField.topAnchor.constraint(equalTo: cell.contentView.topAnchor, constant: 10),
    titleTextField.bottomAnchor.constraint(equalTo: cell.contentView.bottomAnchor, constant: -10), // 🔥 하단 제약 추가!
    titleTextField.heightAnchor.constraint(equalToConstant: 30) // 제거해도 됨
])
방법 3️⃣: 별도의 UITableViewCell을 생성 (권장 ✅)
셀마다 다른 UI를 구성해야 한다면, 각 case에 맞는 UITableViewCell을 커스텀하는 것이 가장 좋은 방법
현재 방식은 dequeueReusableCell(withIdentifier:)를 매번 호출한 후, 동적으로 뷰를 추가하는 방식인데,
이는 반복적으로 뷰를 생성하는 비효율적인 방식이라 셀을 별도로 만들어 사용하는 것이 더 좋은 방법
// ✅ BookTableViewCell 만들기
class BookTableViewCell: UITableViewCell {

    let titleTextField: UITextField = {
        let textField = UITextField()
        textField.placeholder = "📖 책을 정해주세요"
        textField.layer.cornerRadius = 10
        textField.layer.masksToBounds = true
        textField.font = UIFont(name: "HakgyoansimDunggeunmisoTTF-R", size: 18)
        textField.translatesAutoresizingMaskIntoConstraints = false
        return textField
    }()

    override init(style: UITableViewCell.CellStyle, reuseIdentifier: String?) {
        super.init(style: style, reuseIdentifier: reuseIdentifier)

        contentView.addSubview(titleTextField)
        NSLayoutConstraint.activate([
            titleTextField.leadingAnchor.constraint(equalTo: contentView.leadingAnchor, constant: 10),
            titleTextField.trailingAnchor.constraint(equalTo: contentView.trailingAnchor, constant: -10),
            titleTextField.topAnchor.constraint(equalTo: contentView.topAnchor, constant: 10),
            titleTextField.bottomAnchor.constraint(equalTo: contentView.bottomAnchor, constant: -10)
        ])
    }

    required init?(coder: NSCoder) {
        fatalError("init(coder:) has not been implemented")
    }
}

// ✅ cellForRowAt에서 아래처럼 사용
func tableView(_ tableView: UITableView, cellForRowAt indexPath: IndexPath) -> UITableViewCell {
    switch AddItemTableSection.allCases[indexPath.section] {
    case .book:
        let cell = tableView.dequeueReusableCell(withIdentifier: "BookCell", for: indexPath) as! BookTableViewCell
        return cell

    default:
        let cell = tableView.dequeueReusableCell(withIdentifier: "cell", for: indexPath)
        cell.textLabel?.text = "TEST"
        return cell
    }
}
'UIKIT > UITableView' 카테고리의 다른 글
| ❓backgroundColor와 contentView.backgroundColor의 차이 (0) | 2025.03.21 |
|---|---|
| 🤔 UITableView의 grouped 스타일에서 섹션 간 간격을 늘리는 방법 (0) | 2025.03.16 |

