728x90
SMALL
✅ 핵심 정리
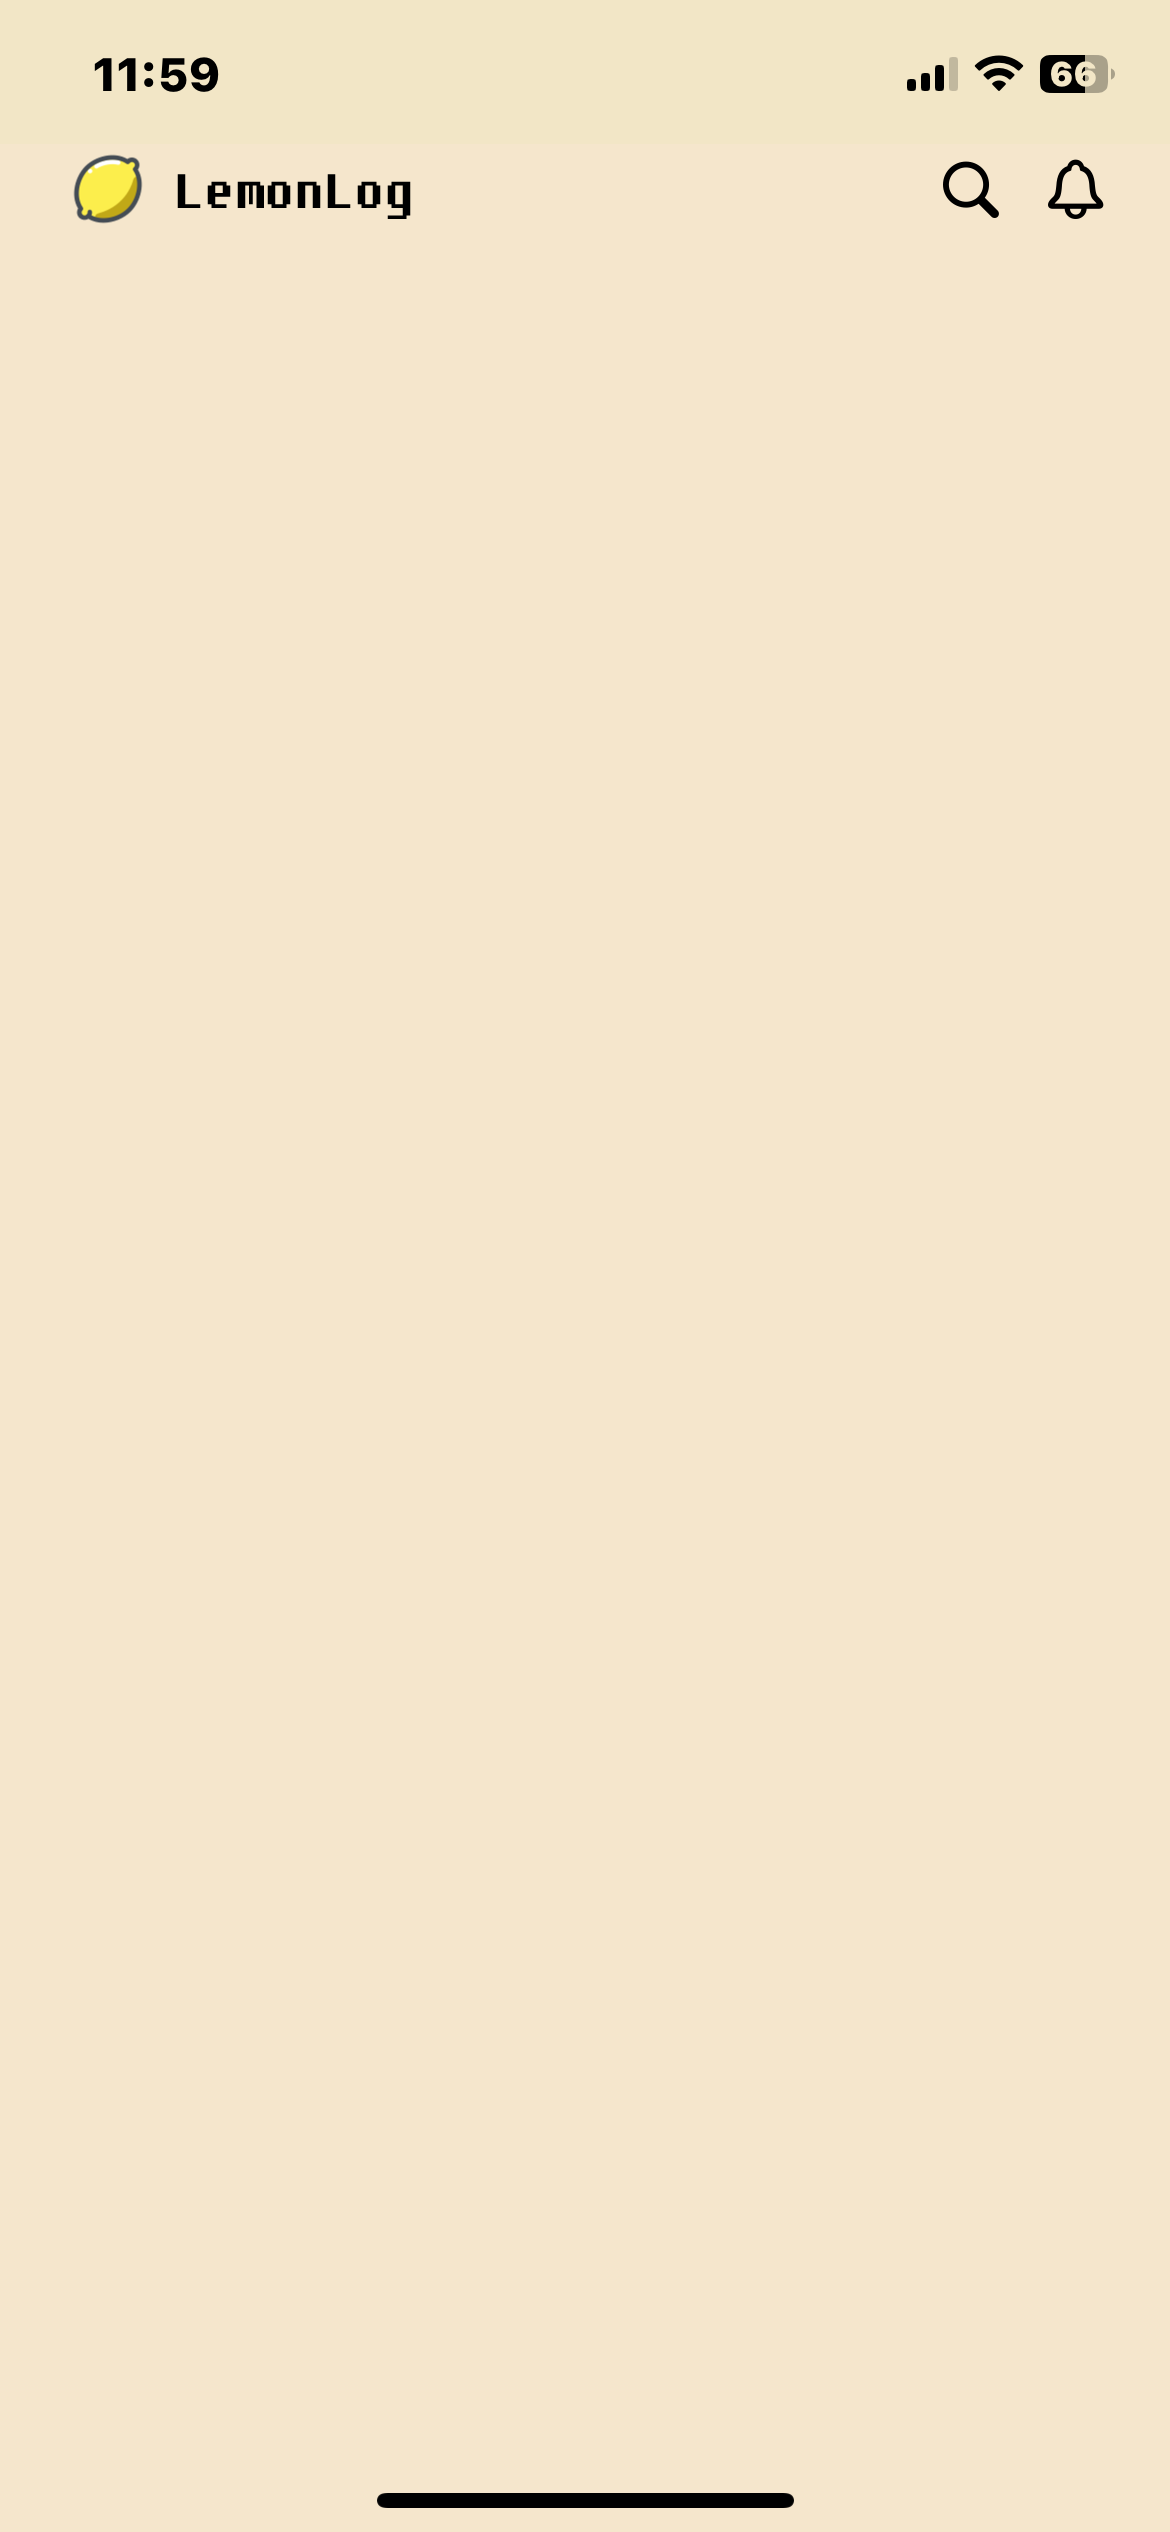
현재 네비게이션바(UIBarButtonItem)로 구현된 로고 + 앱 이름 + 우측 버튼들을
👉 CollectionView의 첫 번째 섹션(.customNavigationBar) 안에서
👉 하나의 셀로 표현하고 데이터소스로 관리하고 싶은 상황이야.
⭐ 해결 방법
➜ 1) “네비게이션 섹션 셀”을 하나 만든다
즉, 다음처럼 CustomNavigationBarCell을 만든 뒤,
그 안에서:
- 로고 이미지
- 앱 타이틀
- 오른쪽 버튼들(검색, 알림 등)
을 모두 배치하는 거야.
⭐ 2) Diffable DataSource에 Items로 포함시키는 흐름
- Section: .customNavigationBar
- Item: .customNavigationBar (단 하나)
snapshot.appendSections([.customNavigationBar])
snapshot.appendItems([.customNavigationBar], toSection: .customNavigationBar)
각 셀 configure 시점에 UI를 셀 내부에서 구성.
📦 1. CustomNavigationBarCell 만들기
final class CustomNavigationBarCell: UICollectionViewCell {

    static let reuseIdentifier = "CustomNavigationBarCell"

    // MARK: - UI
    private let logoImageView: UIImageView = {
        let iv = UIImageView()
        iv.contentMode = .scaleAspectFit
        iv.translatesAutoresizingMaskIntoConstraints = false
        return iv
    }()

    private let titleLabel: UILabel = {
        let label = UILabel()
        label.text = "레몬로그"
        label.font = UIFont(name: "DungGeunMo", size: 20)
        label.textColor = .black
        label.translatesAutoresizingMaskIntoConstraints = false
        return label
    }()

    private let searchButton: UIButton = {
        let b = UIButton(type: .system)
        b.setImage(UIImage(systemName: "magnifyingglass"), for: .normal)
        b.tintColor = .black
        return b
    }()

    private let bellButton: UIButton = {
        let b = UIButton(type: .system)
        b.setImage(UIImage(systemName: "bell"), for: .normal)
        b.tintColor = .black
        return b
    }()

    private let leftStack = UIStackView()
    private let rightStack = UIStackView()
    private let container = UIStackView()

    override init(frame: CGRect) {
        super.init(frame: frame)
        setupLayout()
    }

    required init?(coder: NSCoder) { fatalError() }


    // MARK: - Setup Layout
    private func setupLayout() {

        // left logo + title
        leftStack.axis = .horizontal
        leftStack.spacing = 6
        leftStack.alignment = .center
        leftStack.addArrangedSubview(logoImageView)
        leftStack.addArrangedSubview(titleLabel)

        // right buttons
        rightStack.axis = .horizontal
        rightStack.spacing = 12
        rightStack.alignment = .center
        rightStack.addArrangedSubview(searchButton)
        rightStack.addArrangedSubview(bellButton)

        // total container
        container.axis = .horizontal
        container.alignment = .center
        container.distribution = .equalSpacing
        container.addArrangedSubview(leftStack)
        container.addArrangedSubview(rightStack)

        contentView.addSubview(container)
        container.translatesAutoresizingMaskIntoConstraints = false

        NSLayoutConstraint.activate([
            container.topAnchor.constraint(equalTo: contentView.topAnchor),
            container.leadingAnchor.constraint(equalTo: contentView.leadingAnchor),
            container.trailingAnchor.constraint(equalTo: contentView.trailingAnchor),
            container.bottomAnchor.constraint(equalTo: contentView.bottomAnchor),

            logoImageView.widthAnchor.constraint(equalToConstant: 32),
            logoImageView.heightAnchor.constraint(equalToConstant: 32)
        ])
    }


    // MARK: - Configure
    func configure() {
        let logo = UIImage(named: "lemon")?
            .resized(to: CGSize(width: 32, height: 32))
            .withRenderingMode(.alwaysOriginal)
        logoImageView.image = logo
    }
}
📦 2. DataSource에 등록하기
dataSource = UICollectionViewDiffableDataSource<MainHomeSection, MainHomeItem>(
    collectionView: collectionView
) { collectionView, indexPath, itemIdentifier in

    switch itemIdentifier {
    case .customNavigationBar:
        let cell = collectionView.dequeueReusableCell(
            withReuseIdentifier: CustomNavigationBarCell.reuseIdentifier,
            for: indexPath
        ) as! CustomNavigationBarCell
        cell.configure()
        return cell
    }
}
📦 3. Snapshot 구성
private func applySnapshot() {
    var snapshot = NSDiffableDataSourceSnapshot<MainHomeSection, MainHomeItem>()

    snapshot.appendSections([.customNavigationBar])
    snapshot.appendItems([.customNavigationBar], toSection: .customNavigationBar)

    dataSource.apply(snapshot, animatingDifferences: false)
}
📦 4. 액션 연결하려면?
버튼 액션은 클로저 방식으로 넘길 수 있어.
➜ 셀에서 클로저 선언
var onTapLogo: (() -> Void)?
var onTapSearch: (() -> Void)?
var onTapBell: (() -> Void)?
버튼에 연결:
searchButton.addAction(UIAction { _ in self.onTapSearch?() }, for: .touchUpInside)
bellButton.addAction(UIAction { _ in self.onTapBell?() }, for: .touchUpInside)
➜ MainHomeViewController에서 액션 처리
cell.onTapLogo = { [weak self] in self?.didTapLogo() }
cell.onTapSearch = { [weak self] in self?.didTapSearch() }
cell.onTapBell = { [weak self] in self?.didTapBell() }
728x90
LIST
'감정일기(가칭)' 카테고리의 다른 글
| ✨ iOS에서 GitHub Gist를 이용해 나만의 명언 API 만들기 — JSON 데이터 생성부터 ViewModel 적용까지 전 과정 정리 (0) | 2025.12.04 |
|---|---|
| ⚒️ 커스텀 네비게이션바 셀(customNavigationBarCell)이 statusBar에 가리는 문제.... (0) | 2025.12.02 |
| iOS 스플래시 화면에서 메인 화면으로 깨끗하게 전환하기— present 대신 rootViewController를 교체하는 방식 (0) | 2025.11.28 |
| 🍋 UIKit에서 토스트 메시지(Toast Message) 구현하기 (0) | 2025.11.26 |
| 📘 MVVM에서 PassthroughSubject로 화면 이동 이벤트 처리하기 (0) | 2025.11.24 |

