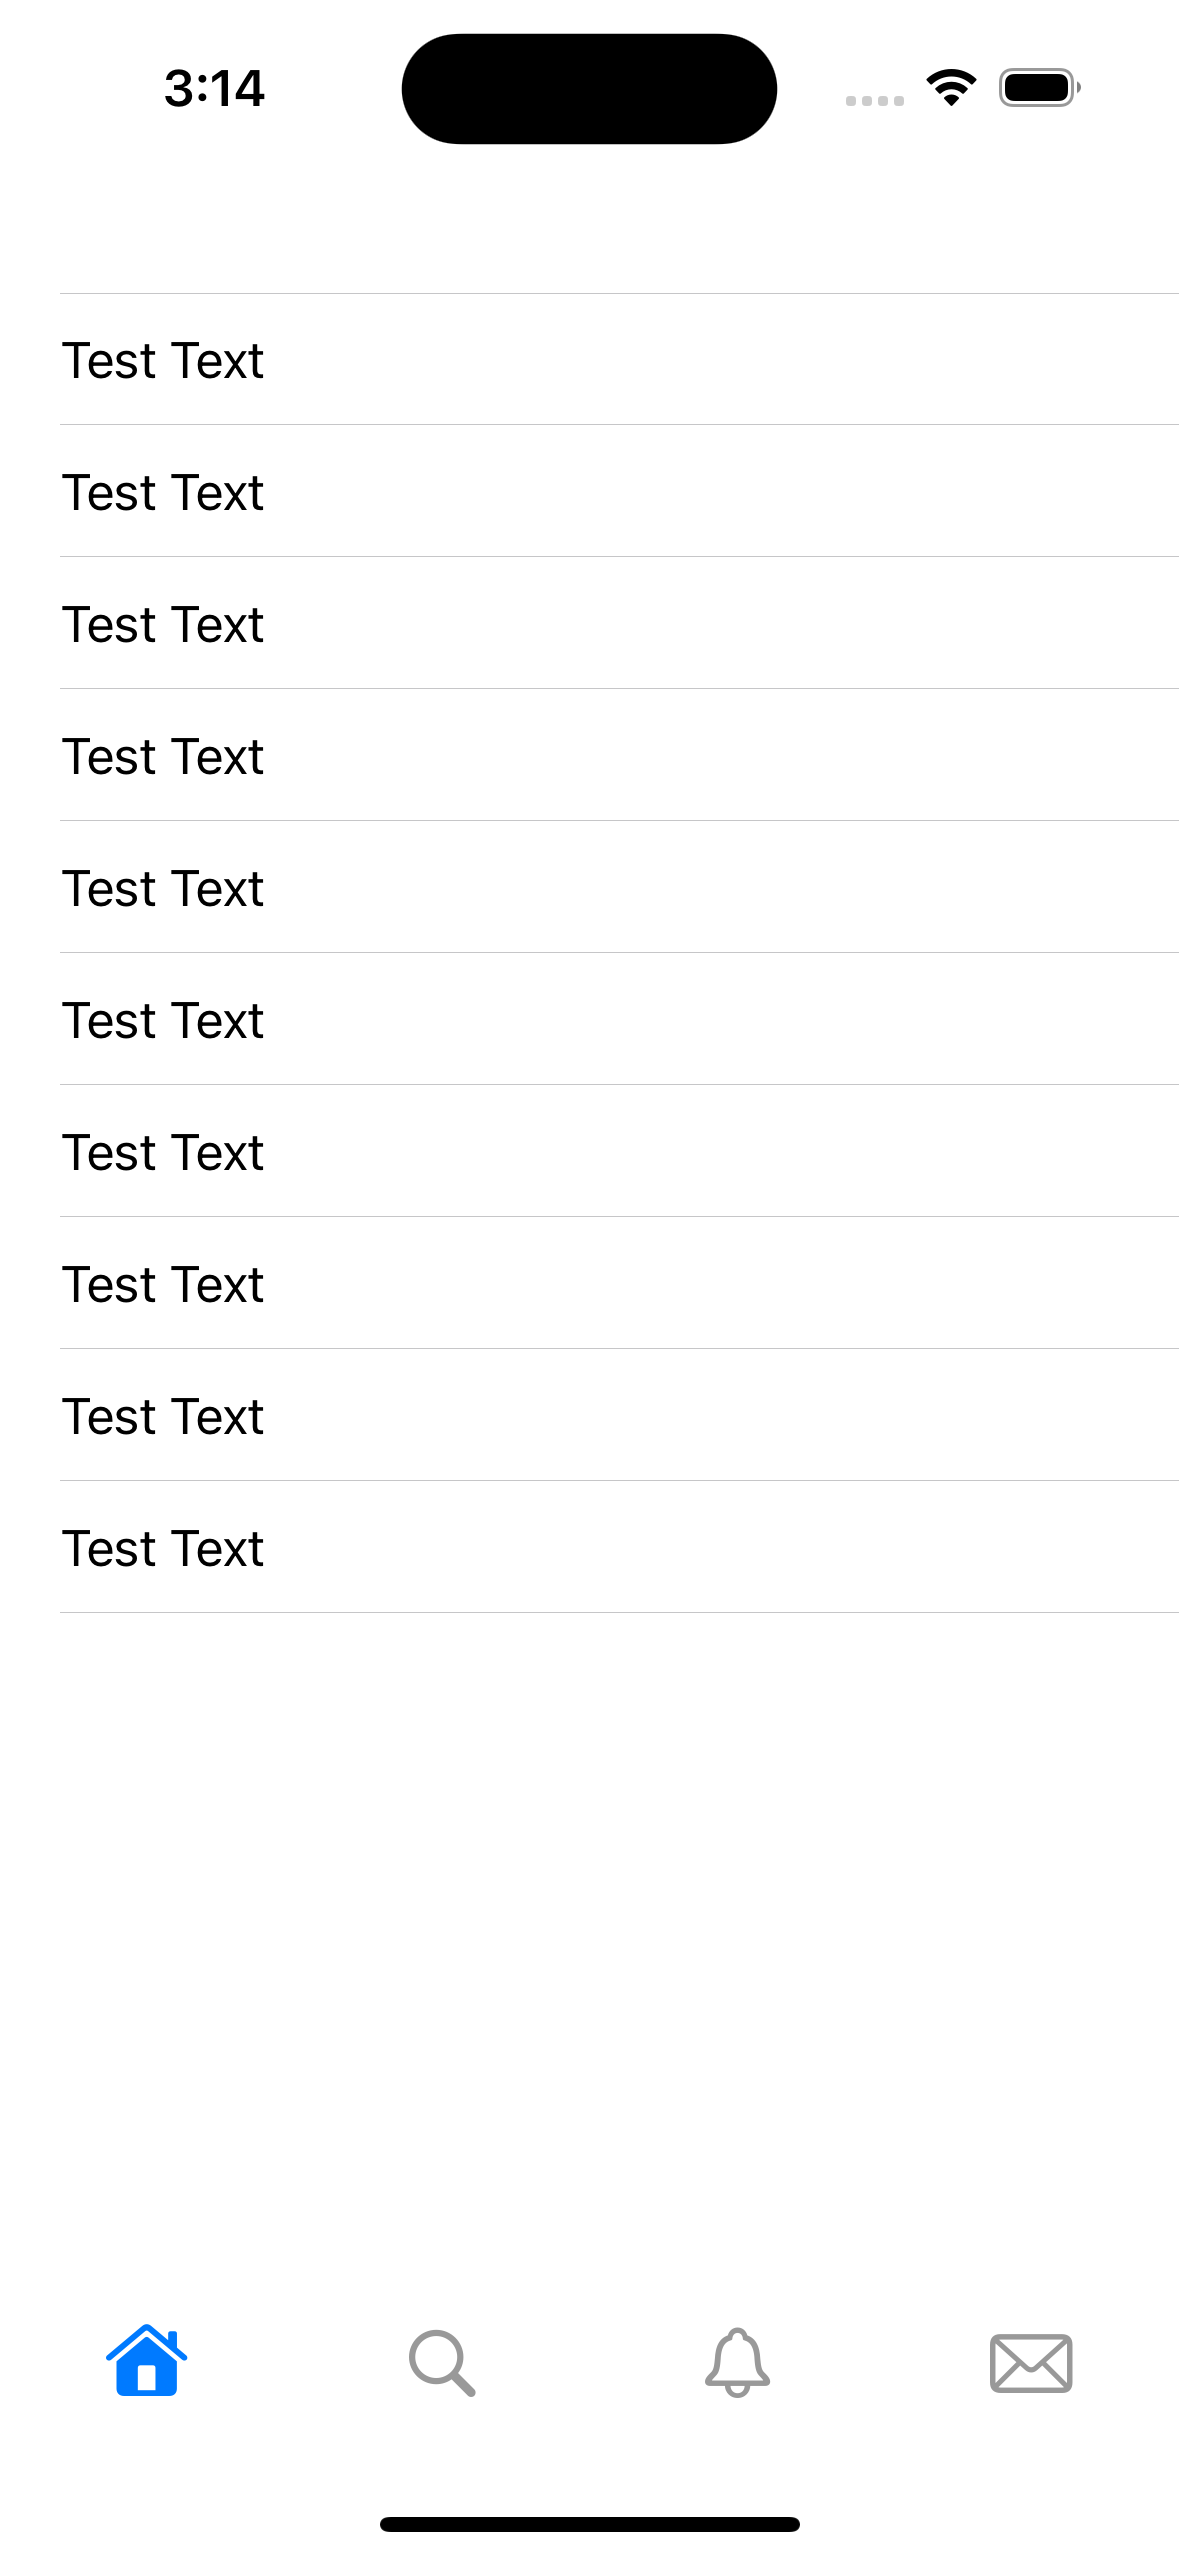
구현 화면
구현 순서
- 메인 스토리보드 삭제 (코드 구현 목적)
- MainTabBarViewController 생성
- HomeViewController 내에 TableView 생성
SceneDelegate.swift 코드 구현
- 코드 구현으로 앱 실행 시 나오는 초기화면 구현
import UIKit

class SceneDelegate: UIResponder, UIWindowSceneDelegate {

    var window: UIWindow?


    func scene(_ scene: UIScene, willConnectTo session: UISceneSession, options connectionOptions: UIScene.ConnectionOptions) {
        guard let windowScene = (scene as? UIWindowScene) else { return }
        window = UIWindow(frame: windowScene.coordinateSpace.bounds)
        window?.windowScene = windowScene
        window?.rootViewController = MainTabBarViewController()
        window?.makeKeyAndVisible()
    }
    ...
MainTabBarViewController.swift 코드 구현
import UIKit

class MainTabBarViewController: UITabBarController {

    override func viewDidLoad() {
        super.viewDidLoad()

        view.backgroundColor = .systemBackground

        setupTabBar()


        let homeVC = UINavigationController(rootViewController: HomeViewController())
        let searchVC = UINavigationController(rootViewController: SearchViewController())
        let notificationVC = UINavigationController(rootViewController: NotificationViewController())
        let directMessageVC = UINavigationController(rootViewController: DirectMessageViewController())


        homeVC.tabBarItem.image = UIImage(systemName: "house")
        homeVC.tabBarItem.selectedImage = UIImage(systemName: "house.fill")


        searchVC.tabBarItem.image = UIImage(systemName: "magnifyingglass")


        notificationVC.tabBarItem.image = UIImage(systemName: "bell")
        notificationVC.tabBarItem.selectedImage = UIImage(systemName: "bell.fill")


        directMessageVC.tabBarItem.image = UIImage(systemName: "envelope")
        directMessageVC.tabBarItem.selectedImage = UIImage(systemName: "envelope.fill")


        setViewControllers([homeVC, searchVC, notificationVC, directMessageVC], animated: true)

    }


    // 탭바에 배경색을 정하기 위한 함수
    func setupTabBar() {
        let appearance = UITabBarAppearance()
        let tabBar = UITabBar()
        appearance.configureWithOpaqueBackground()
        appearance.backgroundColor = .systemBackground
        tabBar.standardAppearance = appearance;
        UITabBar.appearance().scrollEdgeAppearance = appearance
    }
}
HomeViewController.swift 코드 구현
import UIKit

class HomeViewController: UIViewController {


    private let timelineTableView: UITableView = {
        let tableView = UITableView()
        tableView.register(UITableViewCell.self, forCellReuseIdentifier: "cell")
        return tableView
    }()

    override func viewDidLoad() {
        super.viewDidLoad()

        view.addSubview(timelineTableView)

        timelineTableView.delegate = self
        timelineTableView.dataSource = self
    }

    override func viewDidLayoutSubviews() {
        super.viewDidLayoutSubviews()

        timelineTableView.frame = view.bounds
    }
}

extension HomeViewController: UITableViewDelegate, UITableViewDataSource {
    func tableView(_ tableView: UITableView, numberOfRowsInSection section: Int) -> Int {
        return 10
    }

    func tableView(_ tableView: UITableView, cellForRowAt indexPath: IndexPath) -> UITableViewCell {
        let cell = tableView.dequeueReusableCell(withIdentifier: "cell", for: indexPath)
        cell.textLabel?.text = "Test Text"
        return cell
    }
}
TIL
- 어떤 문제가 있었는지
- TabBar의 배경색과 메인 화면의 배경색과 동일해서 구분이 안됨
- 어떻게 해결했는지
- UITabBarAppearance()로 선언
// 탭바에 배경색을 정하기 위한 함수
func setupTabBar() {
    let appearance = UITabBarAppearance()
    let tabBar = UITabBar()
    appearance.configureWithOpaqueBackground()
    appearance.backgroundColor = .systemBackground
    tabBar.standardAppearance = appearance;
    UITabBar.appearance().scrollEdgeAppearance = appearance
}
https://youtu.be/lGDCGja79L8?si=WTZFc3mx0ulLvzay
'Clone App > Twitter' 카테고리의 다른 글
| [Twitter Clone] Add Indicator button in profile view (0) | 2024.05.27 |
|---|---|
| [Twitter Clone] Continue implementing the profile view (0) | 2024.05.27 |
| [Twitter Clone] Add logo, Design ProfileView (0) | 2024.05.26 |
| [Twitter Clone] Add tweet actions (0) | 2024.05.24 |
| [Twitter Clone] Add a custom cell (0) | 2024.05.24 |


