728x90
SMALL
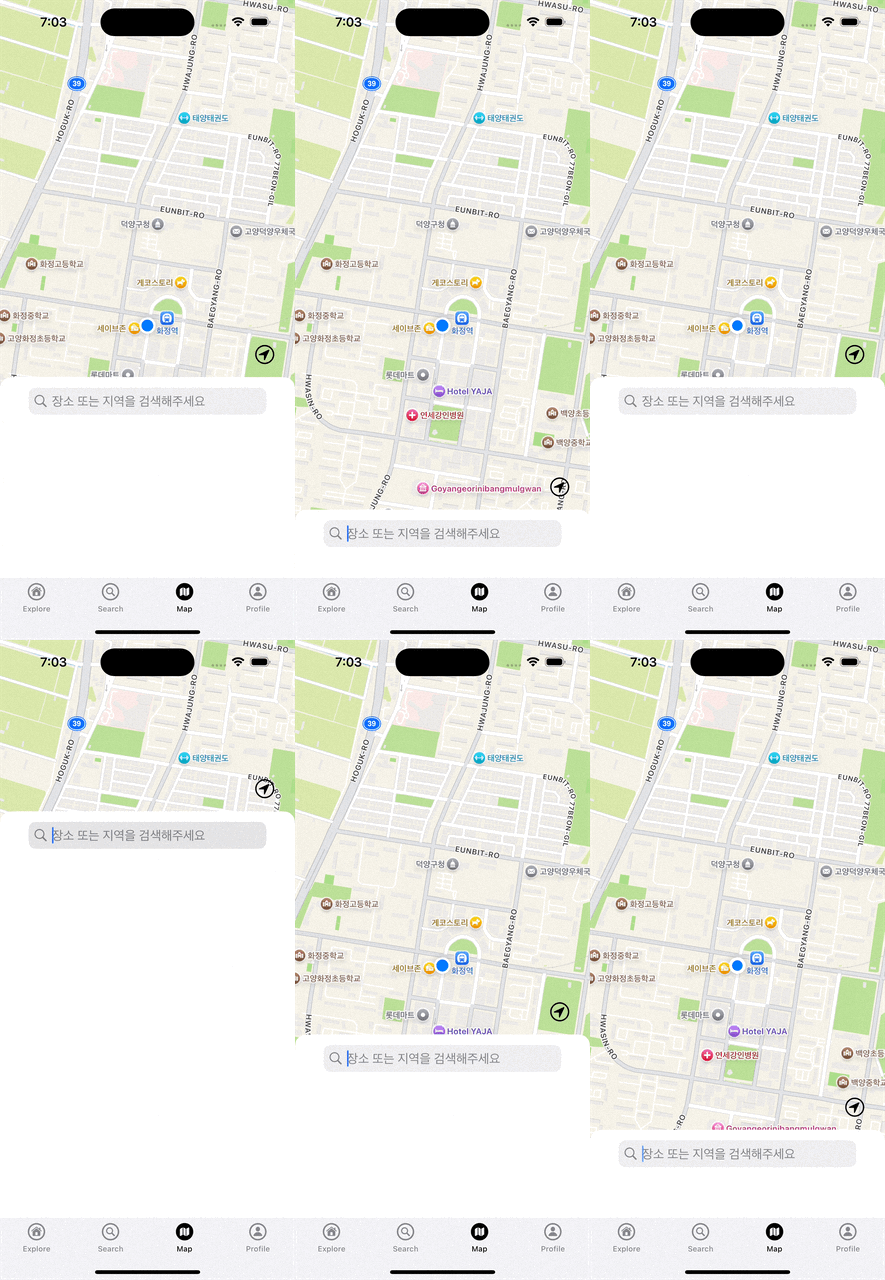
MapView라는 UIView타입의 클래스 안에 userLocationButton을 생성했습니다.
해당 버튼의 위치를 MapSearchView의 TopAnchor에 맞춰서 오토레이아웃을 지정하려고 합니다.
MVC 패턴을 지키려면 userLocationButton을 MapView 내부에서 정의하고, MapView에 MapSearchView와의 관계를 설정할 수 있도록 인터페이스를 열어두는 방식이 더 적합합니다. 예를 들어, MapView 안에서 userLocationButton의 위치를 설정할 수 있는 메서드를 만들어서 컨트롤러가 호출하게 할 수 있어요.
1. MapView에 메서드 추가:
userLocationButton을 MapView 안에서 정의하고, MapSearchView의 위치에 맞게 버튼을 배치할 수 있도록 메서드를 만듭니다.
import UIKit
import MapKit

class MapView: UIView {

    // MARK: - UI Components
    let locationMapView: MKMapView = {
        let mapView = MKMapView()
        mapView.translatesAutoresizingMaskIntoConstraints = false
        return mapView
    }()

    let userLocationButton: UIButton = {
        let button = UIButton(type: .system)
        button.translatesAutoresizingMaskIntoConstraints = false
        let configure = UIImage.SymbolConfiguration(pointSize: 20)
        let image = UIImage(systemName: "location.circle", withConfiguration: configure)
        button.setImage(image, for: .normal)
        button.tintColor = .label
        return button
    }()

    let showMapSearchButton: UIButton = {
        let button = UIButton(type: .system)
        let configure = UIImage.SymbolConfiguration(pointSize: 20)
        let image = UIImage(systemName: "list.bullet.circle", withConfiguration: configure)
        button.setImage(image, for: .normal)
        button.tintColor = .label
        return button
    }()

    // MARK: - Initializations
    override init(frame: CGRect) {
        super.init(frame: frame)

        configureConstraints()
    }

    required init?(coder: NSCoder) {
        fatalError("init(coder:) has not been implemented")
    }

    // MARK: - Layouts
    private func configureConstraints() {
        addSubview(locationMapView)
        addSubview(userLocationButton)

        let locationMapViewConstraints = [
            locationMapView.leadingAnchor.constraint(equalTo: leadingAnchor),
            locationMapView.trailingAnchor.constraint(equalTo: trailingAnchor),
            locationMapView.topAnchor.constraint(equalTo: topAnchor),
            locationMapView.bottomAnchor.constraint(equalTo: bottomAnchor)
        ]

        let userLocationButtonConstraints = [
            userLocationButton.widthAnchor.constraint(equalToConstant: 40),
            userLocationButton.heightAnchor.constraint(equalToConstant: 40)
        ]

        NSLayoutConstraint.activate(locationMapViewConstraints)
        NSLayoutConstraint.activate(userLocationButtonConstraints)
    }

    // MARK: - Functions
    // MapSearchView의 위치에 맞춰 userLocationButton의 위치 조정
    func positionUserLocationButton(relativeTo searchViewTopAnchor: NSLayoutYAxisAnchor) {
        userLocationButton.trailingAnchor.constraint(equalTo: self.trailingAnchor, constant: -20).isActive = true
        userLocationButton.bottomAnchor.constraint(equalTo: searchViewTopAnchor, constant: -10).isActive = true
    }
}
2. MapViewController에서 위치 설정:
MapViewController는 MapView의 positionUserLocationButton 메서드를 호출해 MapSearchView의 위치에 맞춰 userLocationButton을 배치합니다.
import UIKit
import MapKit

class MapViewController: UIViewController {
	...
    // MARK: - Life Cycle
    override func viewDidLoad() {
        super.viewDidLoad()

        ...

        // MapSearchView의 topAnchor를 기준으로 userLocationButton 위치 설정
        mapView.positionUserLocationButton(relativeTo: mapSearchView.topAnchor)
    }

728x90
LIST
'UIKIT' 카테고리의 다른 글
| collectionView.reloadData()는 어디에 넣을까? - 추가 (2) | 2024.10.14 |
|---|---|
| StackView에는 그림자 효과를 넣을 수 없다? (0) | 2024.10.14 |
| 서치바를 눌렀을 때 서치바 y축 위치를 조절하는 방법 (1) | 2024.10.11 |
| 왜 서치바 heightAnchor 의 값을 변경했는데.. 왜 높이 조절 안됨? (3) | 2024.10.11 |
| UISheetPresentationController.... TabBarController를 가린다... (0) | 2024.10.10 |


